10.31.2014

Perfect Prime Rib


I am betting some of you are wondering how prime rib is frugal. Let me tell you, it is not.

Easter 2014; the first time I made prime rib!

Prime rib is one of those things we almost never purchase. This is the second time I bought prime rib and I try to buy it only when it goes on sale. In Vancouver, $5.99/lb is a good deal for prime rib. I purchased a 5.412 lb of prime rib for $32.42. As a member of PC Plus, I received 6400 points (200 points for every $1 spent on fresh beef) which translates to $6.40 off. In addition, I received 4000 points off for spending over $30. After all the discounts, my prime rib costs $22.02 which worked out to be $4.07/lb and can easily serve 15 people (10 oz servings). Not too bad considering a 10 oz (300 g) prime rib costs $25 at my local Keg Steakhouse.

When you are forking over that much money for a prime rib roast, you want to make sure you buy the best available. I prefer to have a good marbling throughout the roast which yields in a tender and flavorful meat.

Nice marbling of fat throughout.

Quick Tips
  • Keep prime rib roast in the bottom vegetable drawer to prevent the juices from contaminating other foods. 
  • Take the prime rib roast from the refrigerator 20 to 30 minutes before as this helps to reduce the chill in the roast so the inside will cook evenly. 
  • Allow the prime rib rest for 10 to 15 minutes after cooking to ensure the roast is moist, tender and juicy.
This is one of those show stopper recipes you will want to carve at table-side. Nothing beats tender and delicious prime rib served with yorkshire pudding and roasted vegetables. Yum indeed!

Thanksgiving 2014; beautiful medium rare prime rib with roasted vegetables.

Ingredients
5 to 6 lb prime rib
10 cloves garlic, minced
3 tbsp olive oil
3 tsp freshly ground black pepper
2 tsp dried thyme

Directions
1. Take the prime rib out of the refrigerator 20 to 30 minutes before you start cooking.

If your house tends to be colder, take the roast out up to 45 minutes earlier.

2. Preheat oven to 450 degrees F and adjust the oven rack to lower-middle position.

3. In a small bowl, mix garlic, olive oil, black pepper and dried thyme together.

A quick rub for the prime rib.

4. Place the prime rib in a roasting pan and rub the mixture all over.

Give the prime rib a nice massage.

5. Roast in the oven for 30 minutes at 450 degrees F. Decrease the temperature to 325 degrees F and roast for 13 to 15 minutes per pound. My roast took about 72 minutes to cook for a medium to medium rare prime rib. (Note that the roast will continue to cook after you take it out of the oven. If you like medium to medium rare, insert a meat thermometer to get an accurate reading. If you have guests who favor a more well-cooked prime rib, the end pieces are medium-well and you can always lightly pan fry it to fully cook the meat. This is what we did for our little man.)

6. Take the pan out of the oven and tent the prime rib loosely with foil. Allow it to rest for 10 to 15 minutes before carving and slicing.

Medium-rare prime rib. My little luxury in my frugal life.

Source: Allrecipes

10.30.2014

Ham Congee

My Mother-In-Law is a resourceful and frugal woman, and very few things go to waste in her kitchen. Thanksgiving at my Mother-In-Law's usually mean roast turkey and ham. Any leftovers are turned into sandwiches, casseroles, fried rice and congee.

My Mother-In-Law always uses the turkey and ham bones for congee. While I am not a fan of turkey congee, I am a huge fan of ham congee.

Since I had roasted a leg of ham for Thanksgiving, I had saved the bone to make split green pea soup originally. Somehow, life threw me for a loop with a busy schedule and feeling under the weather, I decided a ham congee was more appropriate for dinner on this particular night.

On a cold and rainy October, this ham congee sure hit the spot. I can't wait to make this one again!

Ingredients
1 ham bone
1 cup rice
10 cups water
Diced ham
Green onions (optional)
Preserved vegetables (optional)
Soy sauce (optional)

Directions
1. In a large pot, add the ham bone, rice and water to the pot.


2. Bring to a boil, skimming off any foam that rises to the top. Stirring occasionally.

3. Lower the heat to medium and allow it to boil for an hour until the rice breaks apart. Add more water if the congee looks too thick.

4. Fish out the ham bone and pick off any meat that remains.

5. Ladle the congee into individual bowls, garnish with diced ham, green onions, soy sauce and other toppings (such as Chili Radishes and Chili Bamboo Shoots).


Source: Frugal Allergy Mom

10.29.2014

Yorkshire Pudding

In my mind, yorkshire pudding is a mandatory companion to any meat roast, especially beef. Ever since our trip to London a few years ago, I have been obsessed with yorkshire pudding. The recipe that I am about to share with you is incredibly easy and only has four ingredients: eggs, milk, flour and butter. Try this quick and simple recipe that you can whip up at the last minute!

Ingredients
3 eggs
1 cup milk
1 cup all-purpose flour
2 tbsp butter

Directions
1. Preheat oven to 375 degrees F.

2. In a large pourable bowl (ie. large 4 cup Pyrex bowl), beat the eggs and milk together.


3. Stir in flour, mixing well. (I like using my immersion blender to get the batter nice and smooth)


4. Divide 2 tbsp of butter into 12 equal pieces. Place one piece into each muffin tin.

5. Place the muffin tin in the oven for 2 to 5 minutes until the butter is melted.

6. Take the muffin tin out of the oven and pour batter evenly.

7. Bake for 5 minutes at 375 degrees F. Decrease the oven temperature to 350 degrees F and bake for 25 minutes or more until the yorkshire pudding is puffed up and golden brown.


8. Remove the yorkshire pudding from the muffin tin while it is still hot.


Source: Allrecipes

10.28.2014

Roasted Cauliflower

Recently, I have seen roasted cauliflower make its rounds on Pinterest. I pinned the recipe with the good intention of making it and forgot all about it until this Thanksgiving. I was roasting brussels sprouts and clearly did not purchase enough for the dinner I was making and needed more vegetables. Then I remembered that I could roast some cauliflower along with the brussels sprouts. Oh my, does roasted cauliflower ever taste good!

Ingredients
1 head cauliflower, washed, dried and separated into small florets
Olive oil
Sea salt

Directions
1. Preheat oven to 400 degrees F.

2. On an aluminum lined rimmed baking sheet, place cauliflower florets in a pile and generously drizzle olive oil all over. Mix until all the pieces of cauliflower are coated with olive oil. Spread out each floret so there is some space in between each piece.

3. Bake for 35 to 40 minutes until the cauliflower florets are golden brown and tender.


4. Take the roasted cauliflower out of the oven and sprinkle with sea salt.


Source: Frugal Allergy Mom

10.27.2014

Roasted Brussels Sprouts

Brussels sprouts are one of those vegetables people either love or hate. The way my family had always prepared brussels sprouts was to boil it. This resulted in mushy and bitter brussels sprouts that made eating them very unappealing. I dreaded eating brussels sprouts.

Brussels sprouts had a reinvention years ago when a genius (I don't know who you are but if I ever find out, I will repay you with bushels of brussels sprouts) roasted brussels sprouts in olive oil which made this vegetable shine. The food blogs were all over this new and hip way to eat brussels sprouts.

I am happy to report that I now love brussels sprouts and have made it my mission to convert others with this roasted brussels sprouts recipe. If you are not a fan of brussels sprouts, allow me to change your mind as well.

Ingredients
1-1/2 lbs brussels sprouts, stem removed and washed
Olive oil
Sea salt

Directions
1. Preheat oven to 400 degrees F.

2. At the stem of each brussels sprout, make two cuts to make an X.

3. In a bowl, toss brussels sprouts with olive oil until it is coated.

4. On an aluminum lined rimmed baking sheet, spread out the brussels sprouts.

5. Roast for 35 to 40 minutes until the brussels sprouts are crisp on the outside and tender on the inside.


6. Remove from the oven and sprinkle with sea salt.


Source: Frugal Allergy Mom

10.26.2014

Mango Pudding

My Mother-In-Law is famous for her mango pudding. It is the one thing that everyone makes room for, regardless of how stuffed they are. If you have ever been a dinner guest at my Mother-In-Law's, you would know that she makes enough food to feed a hungry army. The recommended dress code for the dinners should be a muu-muu or forgiving sweatpants.

I have made this mango pudding many times now and would highly recommend that you make the mango pudding the night before in order to allow it to set properly.

Unflavored gelatine and mango pulp. See ALLERGY ALERT below.

Ingredients
Bowl #1
1/2 cup cold water
4 packets of unflavored gelatine
3 cups hot water
1-1/4 cup white sugar

Bowl #2
2-1/2 cups cold water
1-3/4 cup whipping cream
850 ml mango puree (canned or fresh)

Directions
1. Mix 1/2 cup of cold water and gelatine in a large bowl and let it sit for 5 minutes. Mix in hot water and white sugar.

2. In a large container, mix cold water, whipping cream and mango puree.

3. Pour in the contents from Bowl #1 (gelatine/sugar mixture) into Bowl #2 (whipping cream/mango puree).


4. Stir and refrigerate overnight to allow the pudding to set.

Decorate with seasonal fruit or whipped cream. Serve cold.

ALLERGY ALERT
  • The Rellure brand of mango pulp pictured above is made in a facility that also produces other top 8 allergens (peanuts, tree nuts, milk, egg, fish, shellfish, soy and wheat). Please use the product at your own discretion. We did not feed this mango pudding to our little man (who is allergic to peanuts and almonds). However, a family friend who has a peanut and tree nut allergy ate this without incident. 
  • To err on the cautious side, for those with food allergies, I would recommend using pureed fresh mangoes or pureed frozen mangoes (thawed) instead of canned.

10.25.2014

Creamy Mashed Potatoes

Mashed potatoes and yams are mainstays for every holiday dinner, at least in my house. Both made an expected appearance at our Thanksgiving dinner. My husband loves my mashed potatoes and I love it as well because it is so simple to make.

Ingredients
6 medium sized yellow potatoes, peeled
2 tbsp butter
1/3 cup milk
Freshly ground black pepper

Directions
1. In a large pot, add potatoes and fill with cold water, ensuring there is at least 1 inch of water to cover the potatoes. Bring to a boil and reduce the heat to medium.

2. Simmer over medium heat until the potatoes are tender.

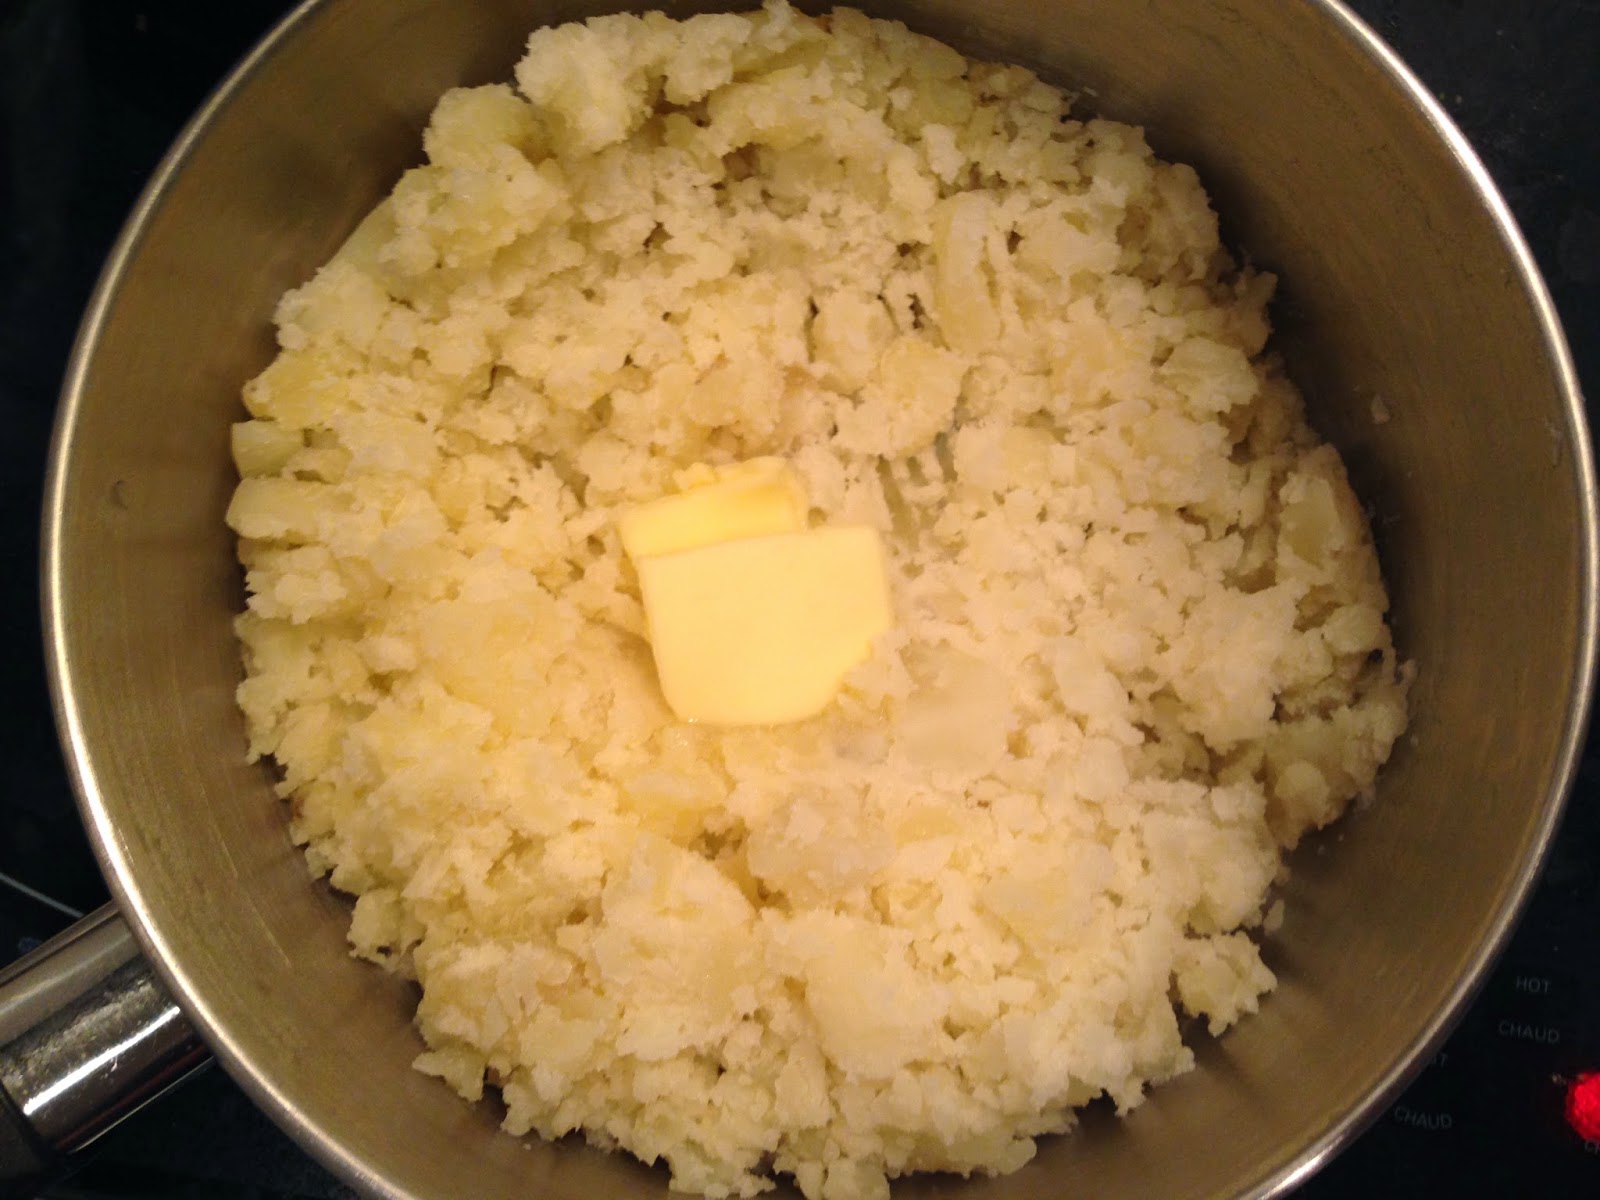
3. Drain water and add butter.

4. Mash with a fork or potato masher until the butter is dissolved.


5. Add in milk and freshly ground black pepper. Mash until it is incorporated.


6.  Mash the potatoes longer (or use a potato ricer) if you prefer a smoother texture.


Source: Frugal Allergy Mom

10.24.2014

Roasted Yams

I love roasting vegetables. The roasting process brings out the natural sweetness of the vegetable and retains its nutrients.

Yams are one of the easiest vegetables to roast. All you need is to wash it and prick it all over with a fork. Set it in the oven and go about your merry way. If you want to be fancy, you can decorate mashed yams with marshmallows, but I prefer eating the roasted yams as is.

Ingredients
Large Yams, washed thoroughly

Directions
1. Preheat oven to 325 degrees F.

2. On a rimmed baking sheet lined with aluminum foil, pierce yams all over with a fork.


3. For large yams (mine were 3 lbs each), bake until tender (about an hour and half). The cooking time would be different based on the size of the yams; the bigger the yam, the longer it takes to cook.

4. Once yams are tender, remove from the oven and wait 10 minutes to allow the steam to escape. Using a large spoon, scoop out the flesh.


5. Mash with a spoon and serve.


Source: Frugal Allergy Mom

10.23.2014

Baked Ham with Brown Sugar and Mustard Glaze

Baked ham has to be the easiest meat to cook for a holiday feast. Leftover ham is incredibly delicious in a variety of meals including casseroles, sandwiches, fried rice and served with eggs and toast.

I prefer to buy the bone-in precooked ham (shank or butt portion) as you can also use the ham bone to make either soup or congee. I especially love making my own glaze, as it tastes way better than the prepackaged glaze included with some hams.


Ingredients
8 to 10 lb bone-in precooked ham (shank or butt portion)

Glaze
1 cup firmly packed light brown sugar
1/4 cup prepared mustard
2 tbsp apple cider vinegar

Directions
Cook ham according to package directions or follow my instructions below.

1. Preheat oven to 325 degrees F and adjust the oven rack to the second lowest position.

2. In a large baking pan, place the cut side down. With a knife, score the ham in a diamond pattern and cover loosely with aluminium foil.


3. Bake for 15 to 20 minutes per pound.

4. Mix brown sugar, mustard and apple cider vinegar together in a bowl.


5. About 45 minutes before the ham is done, apply glaze all over the outside of the ham. Remove foil and allow it to bake uncovered for 45 minutes, basting with the liquid every 20 minutes or so.


6. Remove ham from baking pan and allow the ham to rest for 10 minutes before cutting and serving.


Source: Adapted from The Food Network

10.22.2014

Chicken Spinach Tortellini Pasta

I had bought a package of boneless, skinless chicken breasts when it went on sale for $3.99/lb. I usually buy the bone-in chicken breasts with skin for $2.99/lb but with our increasingly busy schedule, I thought better of it and bought the boneless variety.

I had tortellini pasta and spinach in my fridge which also needed to be used up so I came up with this delicious recipe.

Ingredients
2 tbsp olive oil
2 chicken breasts, cut up into bite sized pieces
1 pound baby spinach, washed and dried
1 package (500 g) fresh tortellini pasta
1-1/2 cups Parmesan cheese, grated
Freshly cracked black pepper, to taste

Directions
1. In a large pan over medium heat, cook chicken breasts in olive oil until it is no longer pink. Set aside.


2. In a large pot, bring water to a boil. Add tortellini and cook according to package directions. Drain; do not rinse.


3. Add baby spinach to the pan until the spinach reduces in size.


4. Add in chicken, tortellini, Parmesan cheese and freshly cracked black pepper. Stir until combined.


Source: Frugal Allergy Mom

10.21.2014

Creamy Minute Oatmeal

Oatmeal and I go way back. I used to buy Costco multi-packs. The 52 packet box came in 3 flavors: plain, brown sugar and apple cinnamon. It is portable and convenient; great for either work or school; all you need is hot water  There were two things I didn't like about the instant oatmeal. One, the flavored oatmeal are super sweet. Two, I was not a fan of the apple cinnamon oatmeal. These were usually given to either my husband to take to work or to my friend, A who loves them. I know my friend A ate all those apple cinnamon oatmeal packets I gave her, but I'm pretty sure my husband still has plenty of uneaten oatmeal packets.

Then, a few years back, I discovered plain oatmeal. It was sold in larger bags which allowed me to create my own flavors using fresh ingredients and also allowed me to control the amount of sugar I use.

Gone are the days of wasted apple cinnamon oatmeal. Try my version of a creamy oatmeal for a delicious hot instant breakfast ready in less than 90 seconds.

EDIT: If you buy Quaker Oats, read this article posted by Quaker on Buzzfeed about children with food allergies (it has been changed to 48 thoughts). It leads off with:


The kids will be home soon, and they'll be hungry.
Are they bringing that friend with all of those allergies?
I really hope not. I mean, I like her, but come on.

As of December 23, 2014, when I was made aware of this article thanks to Peanut-Free Zone, our family will be Quaker free. That means, we will no longer be supporting this company or their products.

Ingredients

1/3 cup instant oatmeal, plain unflavored
1/3 cup milk
1/3 cup water

Topping Suggestions
Sugar, to taste
Apple sauce
Fresh fruit
Honey

Directions
1. In a bowl, add instant oatmeal, milk and water.


2. Heat in a microwave for 60 to 90 seconds.


3. Eat plain or add desired toppings.


Source: Adapted from Quaker Oats

10.20.2014

Freezing Whipping Cream

As I mentioned in my post yesterday, I had a litre of whipping cream that was about to expire. I made this Creamy Tomato Sauce Pasta and still had about 625 ml of whipping cream left.

I really have to start using my whiteboard for tracking perishables again. I just can't seem to remember all these due dates anymore.

Island Farms, a Canadian owned dairy company that I love had posted a tip about freezing whipped cream a few months back. I thought I had "pinned" the tip but I cannot seem to find it on my Pinterest board at all.

The process is fairly simple. You whip the whipping cream until stiff peaks form, drop dallops of whipped cream onto a parchment lined baking sheet, freeze until it is solid and place it in a Ziploc bag for later use (in hot chocolates, chai tea lattes, etc).


Ingredients

Leftover whipping cream

Directions
1. In a stand mixer or hand mixer, beat the whipping cream over medium speed for 5 minutes until stiff peaks form. Do not over beat the cream.


2. Using a spoon or piping bag (if you want to be fancy), drop whipped cream by the spoonful onto a baking sheet lined with parchment paper.


3. Freeze for at least 3 hours (cover with plastic wrap on top). Place in freezer bags. Use within a month for best results.


Ideas
  • Top off homemade waffles with whipped cream:


10.19.2014

Creamy Tomato Sauce Pasta


Over the years, I have learned that cooking is not an exact science. Recipes are more of a general guideline and a jumping ground to adapt to your own tastes.

I had a litre of heavy cream that was due to expire the next day and no time to make the mango pudding that I had originally planned. I also had no idea what to make for dinner and searched Pinterest for some Pinspirations. Alas, my problem was solved when I came across this recipe.

Ingredients
2 tbsp olive oil
2 tbsp butter
1 medium onion, finely diced
4 cloves garlic cloves, finely minced
2 cans Tomato Sauce or Marinara (see my ingredient substitution below)
Salt and pepper, to taste
Sugar, to taste
1-1/2 cups heavy cream
1-1/2 cups Parmesan cheese, grated
454 g spaghetti or fettuccine
Fresh basil, sliced into strips

Ingredient Substitution
1 can of tomato paste with 3/4 cup of water = 1 can of tomato sauce.


Directions
1. In a large pan over medium heat, add olive oil and butter.


2. Add the diced onion, minced garlic and saute for a minute until fragrant.


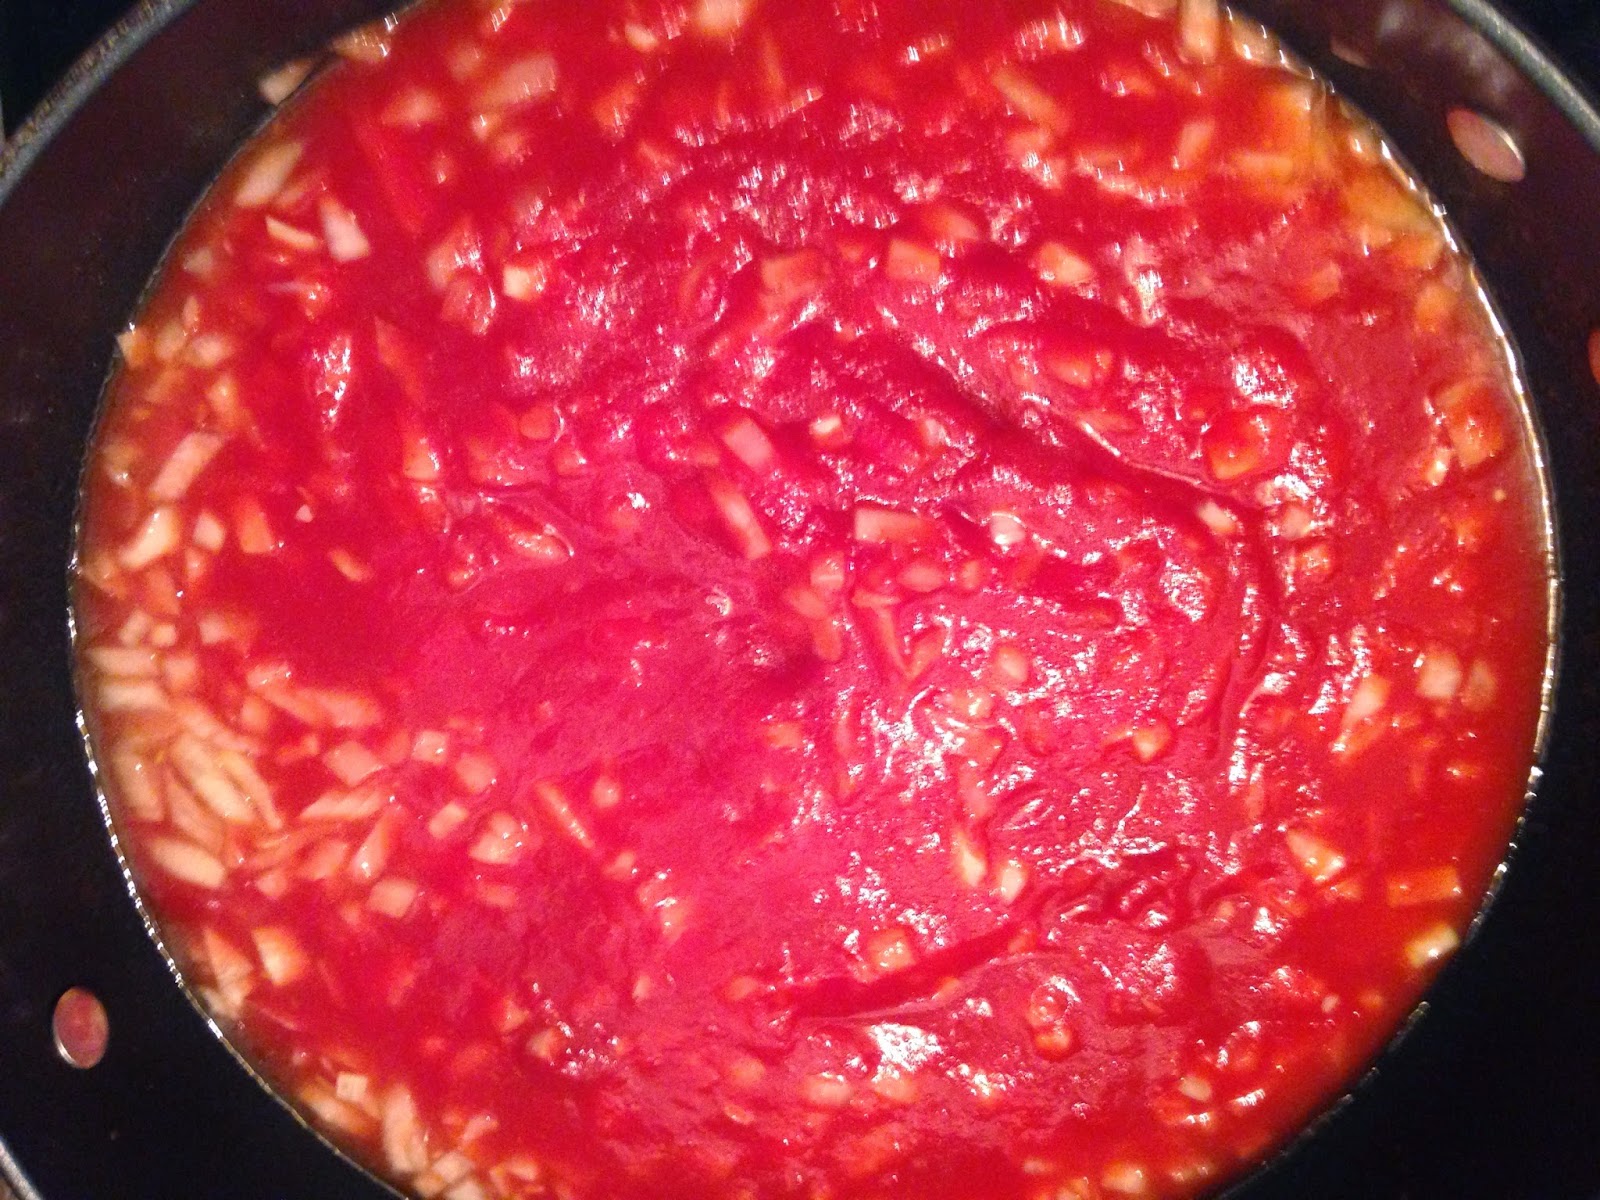
3. Pour in tomato sauce, salt, pepper and sugar. Adjust as necessary.


4. Reduce heat to low. Simmer for 25 to 30 minutes until the sauce is thickened, stirring occasionally.


5. In a large pot, bring water to a boil and cook the pasta according to package directions. Drain the pasta and reserve 1 cup of pasta water. Do not rinse the pasta.

6. Remove pan from heat and stir in heavy cream and Parmesan cheese.


7. Add pasta to the tomato cream sauce, tossing to combine.


8. Garnish with fresh basil and more Parmesan cheese.


Source: Slightly modified from Pioneer Woman