Exactly a year ago, 2013 ended off with a bang. Literally.
My husband and I were celebrating New Years at my Mother-In-Law's when the cork from a sparkling apple juice popped off unexpectedly. The cork hit a light bulb (in the ceiling fan), which shattered into a million pieces all over the living room. All of this happened minutes before the New Year's countdown.
We spent the last 5 minutes of 2013 frantically cleaning, vacuuming and sweeping the living room before counting down to 2014. It was not a relaxed way to celebrate the start the year.
2014 felt equally frantic as it was an eventful year for us (both good and bad). Through all the craziness, it made me realize the important things in life are being healthy and spending quality time with family.
Needless to say, I am hoping for a more relaxed way to end 2014 and hoping 2015 will be a healthier and happier year.
On behalf of my husband, myself and my little man, we would like to make a toast. We wish you and your loved ones a healthy and happy year ahead. Cheers!
My friend Samantha, (who I used to work with) is a picky eater. There are a few things she ate all the time: peanut butter, bananas and pomegranate. She told me she loved picking at each pomegranate kernel because that was enjoyable for her. Huh? For the life of me, I lacked the patience to watch her painstakingly pick at each pomegranate kernel. Though I love eating pomegranate, unlike my friend Samantha, deseeding pomegranate is not high on my list of favorite pastimes.
Yet, over the years, I would buy a pomegranate every year forgetting how painful deseeding a pomegranate is. Then I would tell my husband that I would never buy a pomegranate again because it would take me 20 minutes to deseed a whole pomegranate! The effort was not worth the enjoyment since we could eat all the pomegranate seeds in less than 3 minutes.
I have tried various ways to deseed a pomegranate, including cutting the pomegranate in sections and peeling off the seeds. None of the options are as good as this method that I am about to show you! This revolutionized the way I eat and viewed the work involved to deseed a pomegranate. Try it for yourself and let me know what you think!
Supplies
Pomegranate, washed
Large spoon
Knife
Large bowl
Instructions
1. Using a knife, lightly score around the pomegranate, making sure not to cut too deep.
2. With your fingers, pry open the pomegranate to separate into two halves.
3. Holding half of the pomegranate in your hands gently twist the pomegranate to loosen the membranes.
4. Place a bowl on a counter top. With the cut side over your fingers, whack the pomegranate all over with a spoon until the seeds fall out. Repeat until the whole pomegranate is deseeded.
5. Pick out the pomegranate membranes and discard. Eat and enjoy!
It's the end of December and I am blogging about persimmon ice cream. On top of that, some of you might be wondering what is a persimmon, exactly.
Persimmons are a fruit produced predominantly in Asia (China, Korea and Japan being the top three exporters of persimmons). It has a thin orange red skin that is edible and is generally eaten raw. A ripe persimmon has a mild sweet flavor and has a soft texture, similar to a peach.
And to answer your question why am I posting about ice cream in the dead middle of winter, well, one, it's not that cold in Vancouver (unlike the rest of Canada). Two, I am an ice cream fanatic. On New Year's Eve in 1999, my friends and I stood outside a store in downtown Vancouver eating ice cream, in the freezing cold. I swear we had some stares from passersby who were wondering who the crazies were.
Another reason to make persimmons in the dead middle of winter is because persimmons are in season now. And in season fruit is always the best, it will always taste better and cost less than buying them when they are not in season. For those who have food allergies, this ice cream is free of most common allergens.
Ingredients
Persimmon, washed
Directions
1. Wrap persimmon in saran wrap and freeze for at least 2 hours until it is frozen.
2. Take the frozen persimmon out of the freezer, allow it to thaw for 15 minutes on the counter, slice off the top and serve.
Breakfasts are my husband's forte. Since we cook all of our meals at home now, this can be tiring for one person. I am extremely lucky that my husband takes over making breakfasts on the weekends, making delicious food worth getting up for!
As it is the custom, every Saturday my husband makes breakfast and feeds the little man some food to tide him over until breakfast time. I got up one Saturday and my husband decided to surprise me with homemade waffles. He knows I am a sucker for waffles, especially ones with whipped cream and raspberries on top. These waffles were golden and crispy on the outside and soft on the inside. I definitely felt special while eating these pancakes.
After a busy week of Christmas gatherings with family, my husband looked like he needed to be relieved from breakfast duties. So I took over and made him the same waffles he had made me weeks earlier. I topped my waffles with Cranberry Blueberry Sauce and fresh whipped cream. These waffles are definitely a wonderful way to start the day.
Makes: 10 large waffles
Ingredients
2 cups all-purpose flour
1 tsp salt
4 tsp baking powder
2 tbsp white sugar
2 eggs
1-1/2 cups warm milk (heat for 45 to 60 seconds in the microwave)
1/3 cup butter, melted (defrost on quick setting in the microwave)
1-1/2 tsp vanilla extract
Directions
1. In a large bowl, mix together flour, salt, baking powder and sugar.
2. Preheat waffle iron to desired temperature.
3. In a separate bowl, beat eggs. Stir in milk, butter and vanilla.
4. Pour the milk mixture into the flour mixture. Stir until the flour is just incorporated.
5. Using a measuring cup, pour 1/4 cup to 1/3 cup of the batter into the preheated waffle iron.
6. Cook the waffles until it is golden and crisp (about 8 minutes in my waffle maker).
7. Top with whipped cream and fresh fruit. Serve immediately.
If you have any leftover waffles, wrap it tightly in plastic wrap and then in aluminium foil. To cook the waffles from frozen, pop the waffles into your toaster.
Does this sound familiar? You want to make a recipe and it calls for a few stalks of celery. Perhaps you are making this delicious Chicken Dumplings recipe, or you needed a few stalks for Roast Chicken. Often, the celery wilts in your fridge before you have a chance to use it all up. That sad and limp celery winds up in the trash. Shortly after, you discover you need celery again for a different recipe and you go out to buy another bunch of celery.
This scenario happened a lot in my household. So much so that I stopped buying celery bunches and started buying celery stalks (since I was wasting at least 1/3 of every bunch of celery). The downside is the cost, as buying celery stalks is often more expensive (per pound) than buying a bunch of celery.
As I was browsing through Pinterest, I saw a brilliant way to preserve celery for a long time. Some ingenious person (whoever you are, thank you!) figured out how to keep celery crisp for several weeks by wrapping it tightly in aluminium foil (aka tin foil).
So I experimented with this tip and had amazing success! See my pictures below for the results.
Let me know in the comments below what tips and tricks you have to keep vegetables or fruits fresh for longer periods of time. Or you can let me know via Twitter @frugalnutfree, Google+ or Facebook! Supplies
Celery (stalks or bunch)
Aluminium foil
How To
1. Rip up a piece of aluminium foil large enough to cover the entire celery. Wrap tightly and store in the vegetable drawer (crisper) in your refrigerator.
Day 1 Observations
I purchased the freshest looking celery I could find at the grocery store: green and crisp stalks with firm leaves.
Fit for: eating raw and cooking
Day 1: Fresh and crisp. Nothing beats a cold and crunchy celery with seed butter! Mmm...
Day 5 Observations
Normally celery stored in the fridge (sans aluminium foil) would have shriveled up and it would be in the trash already.
The celery bunch wrapped in aluminium foil is still fresh and crisp!
Fit for: eating raw and cooking
Day 5: Still fresh and crisp!
Day 15 Observations
Celery is still crisp but does not look as fresh as day 5
Fit for: cooking (or eating raw depending on your preferences)
In the blink of an eye, another Christmas has passed. As I age, it seems that each year goes by faster and faster. Time becomes more valuable and with a million things to do, it's hard for one thing to capture my attention, let alone begging me to make it right away.
I saw a recipe on Pinterest for a Cranberry Blueberry Sauce and it definitely beckoned me to make it right away. I had all the ingredients on hand and the execution of this recipe could not be simpler. Even better is the fact that this sauce is so versatile. It can be used as a topping on pancakes, waffles, ice cream, or as an accompaniment to protein like turkey or chicken.
Ingredients
2/3 cup white sugar
1 cup water
3 cups whole fresh cranberries
1-1/2 cups frozen blueberries
1/2 tsp ground cinnamon
1/4 tsp fresh lemon zest
Directions
1. Place all the ingredients in a medium sized pot, mix thoroughly and bring to a boil.
2. Once it comes to a boil, reduce heat to medium low. Stir occasionally and simmer partially covered for 20 to 30 minutes.
Nut-free cookies for Santa (It's Dare Maple Leaf Cream, eh?)
For Christians around the world, Christmas is a time to celebrate the birth of Christ. For those who celebrate Christmas, it is also a time to spend with family and gorge on a never-ending supply delicious food. This year marks the first nut-free Christmas for our family since the little man was diagnosed with peanut and almond allergies in March.
While I cannot say that this year has been without its share of difficulties and challenges, I feel blessed by the support we have received from family, friends, fellow food allergy bloggers and the food allergy community. As a result of everyone's support, we learned the importance of carrying and administering epinephrine, allergen avoidance at social gatherings, the need to always read labels and educate others on the seriousness of food allergies.
On the other hand, there have been many good things that have resulted from us being a part of the food allergy community. I have met some incredible and supportive people (through online and in person), made a conscious decision to stay at home to raise my little man (and watch him grow before my eyes), started this blog (meeting some amazing food allergy bloggers in the process), and learned that I am a good cook (from what I'm told). We are eating healthier (most times if you don't count my love of butter and cheese), saving money (from not eating out at restaurants) and supporting one another through challenging times (my husband rocks at this!). Moreover, we learned that while food plays an important role in most of our social gatherings, it does not have to be the end all be all for gatherings to be enjoyable.
So, on this special day, I want to count my blessings for what I have and give thanks: to God, to my wonderful husband, my amazing little man, our families, old and new friends and amazing companies who support the food allergy community. Merry Christmas everyone!
Stanley Park in Vancouver is our oasis when we need a break from everything.
I love quick and easy Do-It-Yourself projects. This Pinterest project for an origami folded Christmas tree takes less than 10 minutes. It is an easy project for kids, adds a festive touch to your Christmas dinner table and best of all, you can reuse wrapping paper (destined for the trash) from all those Christmas gifts.
If you make this Christmas tree, please send me a tweet @frugalnutfree and let me know how it turned out!
What You Will Need
Wrapping paper, origami paper or printer paper (preferably colorful and thinner paper stock)
Scissors Video Instructions
I made a video showing how to make a paper Christmas tree in case the step by step instructions below are unclear. This is my first video, so you will have to forgive any little issues. :)
Step By Step Instructions
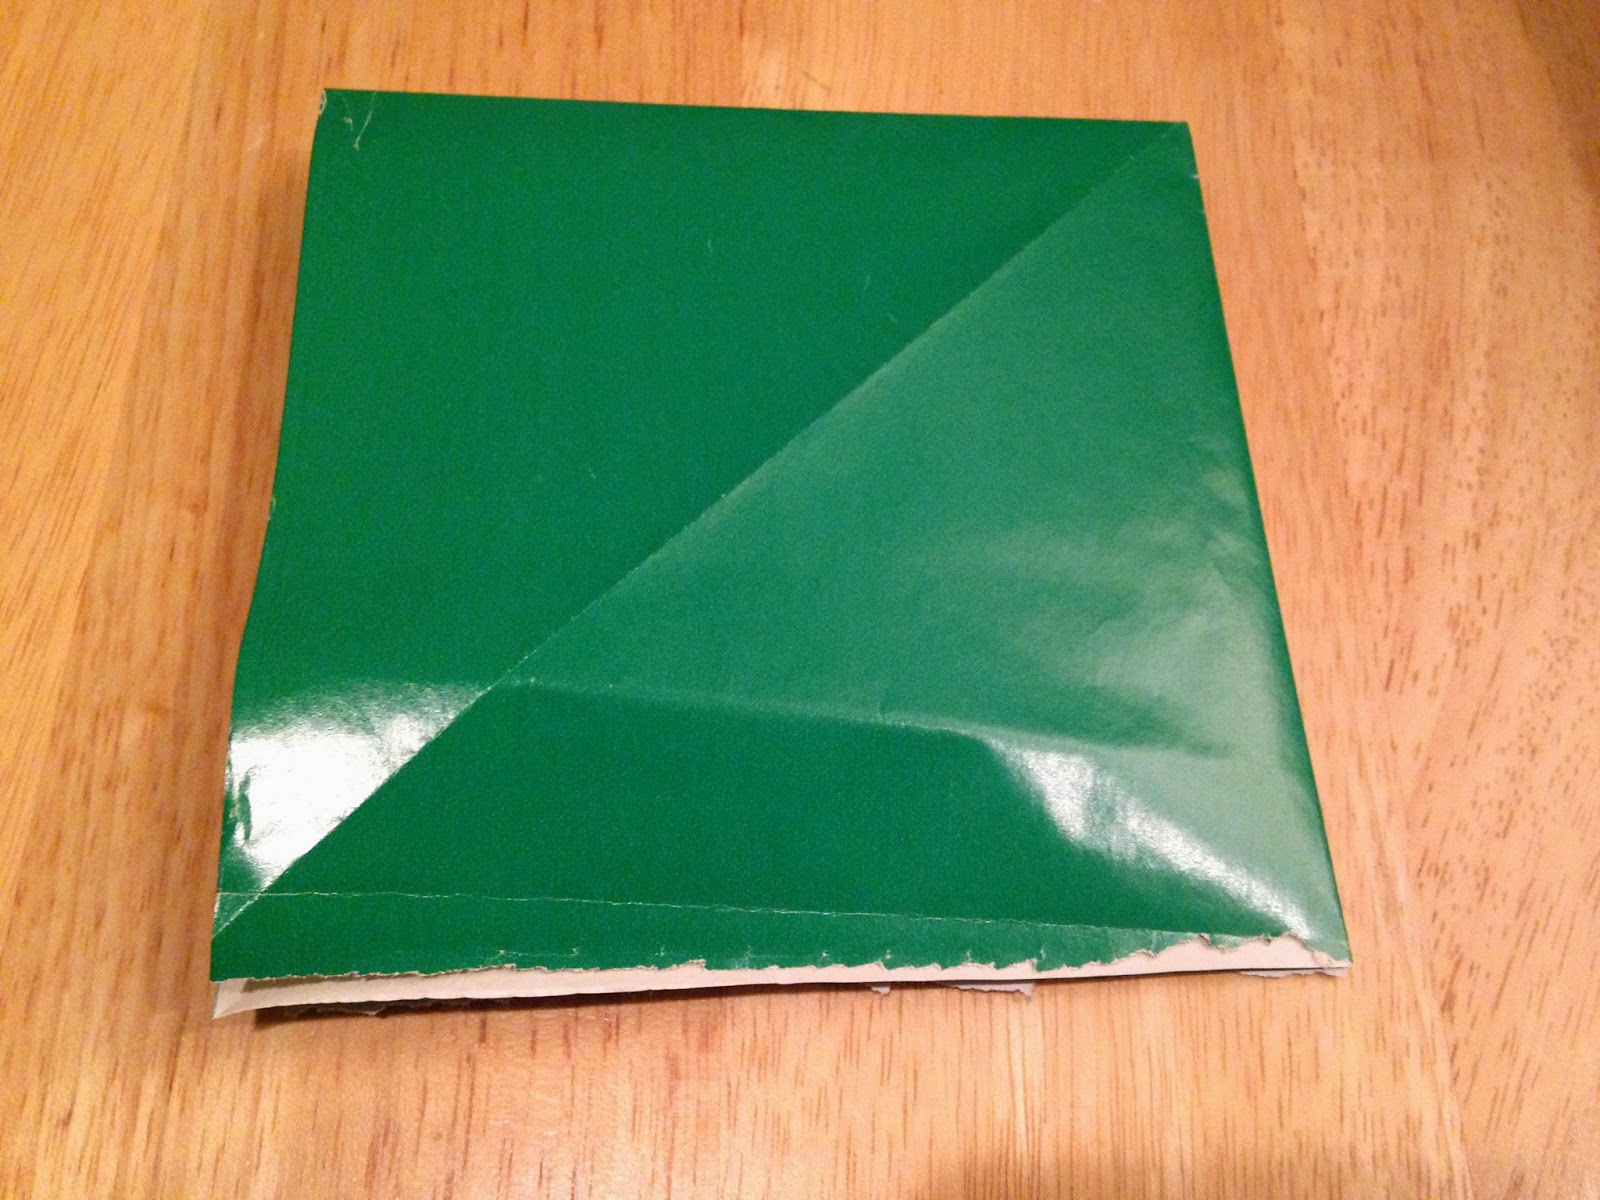
1. Fold a square piece of paper diagonally. Unfold the paper.
2. Fold the paper diagonally so the creases form an X. Unfold the paper.
3. Fold the paper in half so it is a rectangle.
4. Fold the paper once again so it is a square.
5. Unfold the paper and flip it so the inside of the paper is facing up.
6. Fold the paper in half again. Fold A up to B while holding the bottom piece down and crease so it looks like the picture below. (Jump to 1:20 on the video)
7. Lift D and C fold in C so it looks like the picture below. (Jump to 1:25 on the video to see how it is done)
8. Turn the paper so the open side is closest to you.
9. Fold the corners so it meets the line in the middle.
10. Repeat on the other side.
11. Unfold one side and tuck the corner in so it resembles a diamond shape. Repeat for the other three sides. (Jump to 2:35 on the video)
12. Trim the bottom of the diamond with scissors so it forms an (isosceles) triangle. Note: adults, please supervise younger children when using scissors.
13. Make 5 or 6 equal cuts on each side, cutting through all the layers. Make sure the cut is not too close to the center line.
14. Fold the sides in so it resembles a tree.
15. Fluff out so the sections are evenly spaced. Decorate your Christmas dinner table!