Everywhere you go, everyone is offering low-carb in an effort to court the weight conscious crowd. I find that I rarely buy wraps these days since I can replicate the $8 wrap easily at home, for a fraction of the price.
I kept seeing the same recipe showing up on my Pinterest feed where I pinned the exact same recipe no less than 3 times within a month. I made a mental note to cook some extra chicken breast to make these grilled chicken avocado wraps for a quick weekend brunch.
With only 5 ingredients, this grilled wrap is as simple as it can be. I loved that it took no more than 10 minutes to assemble and heat up on the panini grill. I think the main reason why this wrap tasted so good is because it is grilled. Friends, this wrap actually tastes as amazing as it looks. It is definitely worth a bazillion repins on Pinterest.
Ingredients
4 large flour tortillas
1 large chicken breast, cooked, sliced or diced
1 large ripe avocado, cut into slices
1 cup shredded mozzarella cheese
1 fat, juicy lime
2 tbsp cilantro, finely chopped (optional)
Directions
1. Preheat a panini grill.
2. Divide the chicken breast, avocado, mozzarella cheese and cilantro equally among the four tortillas.
3. Squeeze a little lime juice over the chicken breast and avocado.
4. Wrap tightly (like a burrito, tucking in the ends) and heat on the preheated panini grill.
5. Remove from the panini grill once the ingredients have warmed through and the cheese has melted. Serve warm, eat and repeat.
Source: Adapted from Closet Cooking
Frugal Mom To a Nut Allergic Child. Recipes, frugal finds, child development and food allergy management. Posts weekly.
Showing posts with label Chicken. Show all posts
11.28.2015
3.27.2015
Oven Baked Honey Garlic Wings and Classic Hot Wings
One of our favorite things to do when we were DINKs (Double Income No Kids) was to go to local pubs for $0.25 wings on Wing Wednesdays. After gorging on several dozen of wings, we would swear off wings for a while but only to go back a few weeks later.
We realized that the wings we ate at pubs were deep fried, so we searched for a slightly healthier option. Baking the wings in the oven achieved similar crispiness of deep frying without all the fat and greasiness.
Over the years, we would often try to bake our own wings at home when the craving hit when it was not Wednesday. Quick, easy and delicious, there's no real reason to hit a pub, unless it is Wings Wednesday.
Ingredients
48 chicken wings (drumettes and flats), patted dry with a paper towel
Homemade Honey Garlic Sauce
Classic Hot Sauce
1 tbsp butter
1/4 cup Frank's Red Hot
Directions
1. Preheat oven to 400 degrees F.
2. On a baking sheet lined with aluminium foil, place chicken wings in a single layer, leaving room between each wing. Bake for 40 to 50 minutes.
Honey Garlic
1. Once the wings are cooked, toss wings in honey garlic sauce or pour sauce over the wings.
2. Place the chicken wings back on the baking sheet and bake for another 8 to 10 minutes until it is caramelized.
Classic Hot Sauce
1. In a small pot over medium heat, melt butter. Once the butter has melted, mix in Frank's Red Hot and heat until it bubbles. Set aside.
2. Toss the baked wings in hot sauce until it is evenly coated.
Source: Slightly adapted from Allrecipes
3.14.2015
Chinese Soy Sauce Chicken
Soy sauce chicken is the rotisserie chicken in Chinese cuisine. It tastes delicious, goes well with all meals, and can be easily purchased at most Chinese barbecue houses or delis.
This year for Chinese New Year, I decided to make my own soy sauce chicken instead. One of the perks of being a food allergy mom is you learn to DIY and make everything from scratch. And you would be amazed how good of a chef you become and how easy and delicious food made from scratch can be.
After a search on the Internet, I came across this recipe from China Sichuan Food. I have to say that I am becoming a huge fan of China Sichuan Food and all of the recipes posted by Elaine on her site. Her soy sauce chicken recipe is insanely delicious and flavorful. It was so good that I was asked if I had purchased it from a Chinese barbecue house!
This recipe is a definite keeper and I can't wait to remake it again.
Ingredients
1 whole chicken, 2.5 lbs
Marinade
1 inch ginger root, julienned
1 sprig of green onion, sliced diagonally
1/4 cup soy sauce
Sauce
3 inch ginger, sliced
3 tbsp light soy sauce
1 tbsp dark soy sauce
1 tbsp cooking wine
1 tbsp sesame oil
1 cup water
1 tsp white sugar
2 bay leaves
3 star anise
1 cinnamon bark
Directions
1. Wash the inside of the chicken to rinse out any loose giblets. Pat dry with clean paper towels and place in a large Ziploc bag.
2. Mix the marinade in a small bowl and pour it in to the Ziploc bag. Squeeze out as much air from the bag as possible before closing the bag. Massage the marinade all over the chicken and allow it to marinate for at least 2 hours in the refrigerator.
3. Half an hour before cooking, take the chicken out of the refrigerator and allow it to come to room temperature.
4. In a dutch oven or a heavy bottomed pot over high heat, add the ingredients for the sauce: ginger, light soy sauce, dark soy sauce, cooking wine, sesame oil, water, white sugar, bay leaves, star anise and cinnamon bark. Bring all of the ingredients to a boil.
5. Take the chicken out of the Ziploc bag. Discard the ginger, spring onion and pour the marinating liquid into the dutch oven.
6. Once the sauce reaches a boil, gently lower the chicken into the dutch oven, and cook for 2 minutes.
7. Turn the heat down to medium, cover with a lid and cook for 5 minutes.
8. Using tongs and a wooden spoon, flip the chicken over and cook for another 5 minutes. (I like inserting the tongs into the cavity of the chicken and using the wooden spoon to flip).
9. Flip the chicken again and cook for another 10 to 15 minutes until the chicken reaches an internal temperature of 160 degrees F.
10. Once the chicken is cooked, take the chicken out of the dutch oven and place on a serving plate.
11. With tongs, pick out the bay leave, star anise, ginger and cinnamon bark. Turn the heat up to high and reduce the sauce until it is slightly thickened. Pour the sauce through a gravy separator to get rid of the fat.
12. Brush the chicken with the sauce and save the remainder of the sauce as a dipping sauce. Allow the chicken to cool slightly before cutting and serving.
Make Ahead
The chicken can be made a day ahead and reheated in the oven at 350 degrees F. Place the chicken in an oven safe pan, loosely covered with aluminum foil and bake for 30 minutes or until heated through. Heat the sauce in the microwave until hot and serve as a dipping sauce.
Source: Slightly adapted from China Sichuan Food
2.25.2015
Crockpot Congee
In the week leading up to Chinese New Year, my little man came down with a runny nose and cough. I felt so bad for him.
When my little man is sick, all he wants is someone to cuddle and hold him. I love cuddling and holding him but it presents some challenges, especially when I am home alone with him. While cleaning can always wait when my little man is sick, we still need to eat.
This is where the crockpot comes in.
You put the rice, frozen (or fresh) chicken breast and water in the crockpot. Turn it on and go cuddle and hold your sick little ones (or whatever else you have going on).
In about 4 to 6 hours, the congee will be ready. It's perfect for those days when you have your hands full.
Ingredients
1-1/4 cup white rice
10 cups water
1 large chicken breast, fresh or frozen
Directions
1. Wash rice until the water runs clear.
2. Add rice, water and chicken breast into the crockpot.
3. Turn to low and cook for 4 to 6 hours until the rice breaks down.
4. Take the chicken out and shred with two forks. Return the shredded chicken back to the crockpot.
5. Stir the chicken in. Serve hot.
When my little man is sick, all he wants is someone to cuddle and hold him. I love cuddling and holding him but it presents some challenges, especially when I am home alone with him. While cleaning can always wait when my little man is sick, we still need to eat.
This is where the crockpot comes in.
You put the rice, frozen (or fresh) chicken breast and water in the crockpot. Turn it on and go cuddle and hold your sick little ones (or whatever else you have going on).
In about 4 to 6 hours, the congee will be ready. It's perfect for those days when you have your hands full.
![]() |
| Just what Dr. Mom ordered. |
Ingredients
1-1/4 cup white rice
10 cups water
1 large chicken breast, fresh or frozen
Directions
1. Wash rice until the water runs clear.
2. Add rice, water and chicken breast into the crockpot.
3. Turn to low and cook for 4 to 6 hours until the rice breaks down.
4. Take the chicken out and shred with two forks. Return the shredded chicken back to the crockpot.
5. Stir the chicken in. Serve hot.
![]() |
| Add some soy sauce and pickled vegetables, mmm mmm good! |
Source: Frugal Allergy Mom
2.08.2015
Creamy and Cheesey Tortellini Soup with Chicken, Spinach and Mushroom
It is Family Day long weekend here in British Columbia, Canada. We are excited since this means an extra day off for my husband. This also gives us a little extra time for spring cleaning just in time for Chinese New Year which occurs on February 19th.
Yesterday was a busy day. For a Saturday, we woke up at 7 am when the little man got up with a stuffed nose that does not seem to be going away. This would have been okay had we not stayed up until 3 am watching a movie.
After a quick breakfast (made by my hubby), I went to Costco to do some grocery shopping and my husband stayed home to potty train our little man. The rest of the day was a blur between cleaning our house, working on the blog, visiting open houses, and before I knew it, it was dinner time.
We were all hungry and wanted something filling. I found a recipe for a creamy tortellini soup that sounded amazing. This is a hearty soup loaded with tortellini, chicken, spinach, mushroom and Parmesan cheese. My husband and I both loved the flavorful broth and this definitely hit the spot after a long day.
Happy Family Day from our family to yours!
Ingredients
3 tbsp butter, divided
1 medium onion, diced
8 large mushrooms, sliced
1 large chicken breast, cut into bite-sized pieces
3 cloves garlic, finely minced
1 tsp dried thyme
1/4 cup flour
1/2 cup white wine or broth
8 cups vegetable broth or chicken broth
500 g (16 oz) cheese tortellini
3/4 cup shredded Parmesan cheese
300 g (10 oz) baby spinach
1/2 cup cream or milk
Salt and pepper to taste
Directions
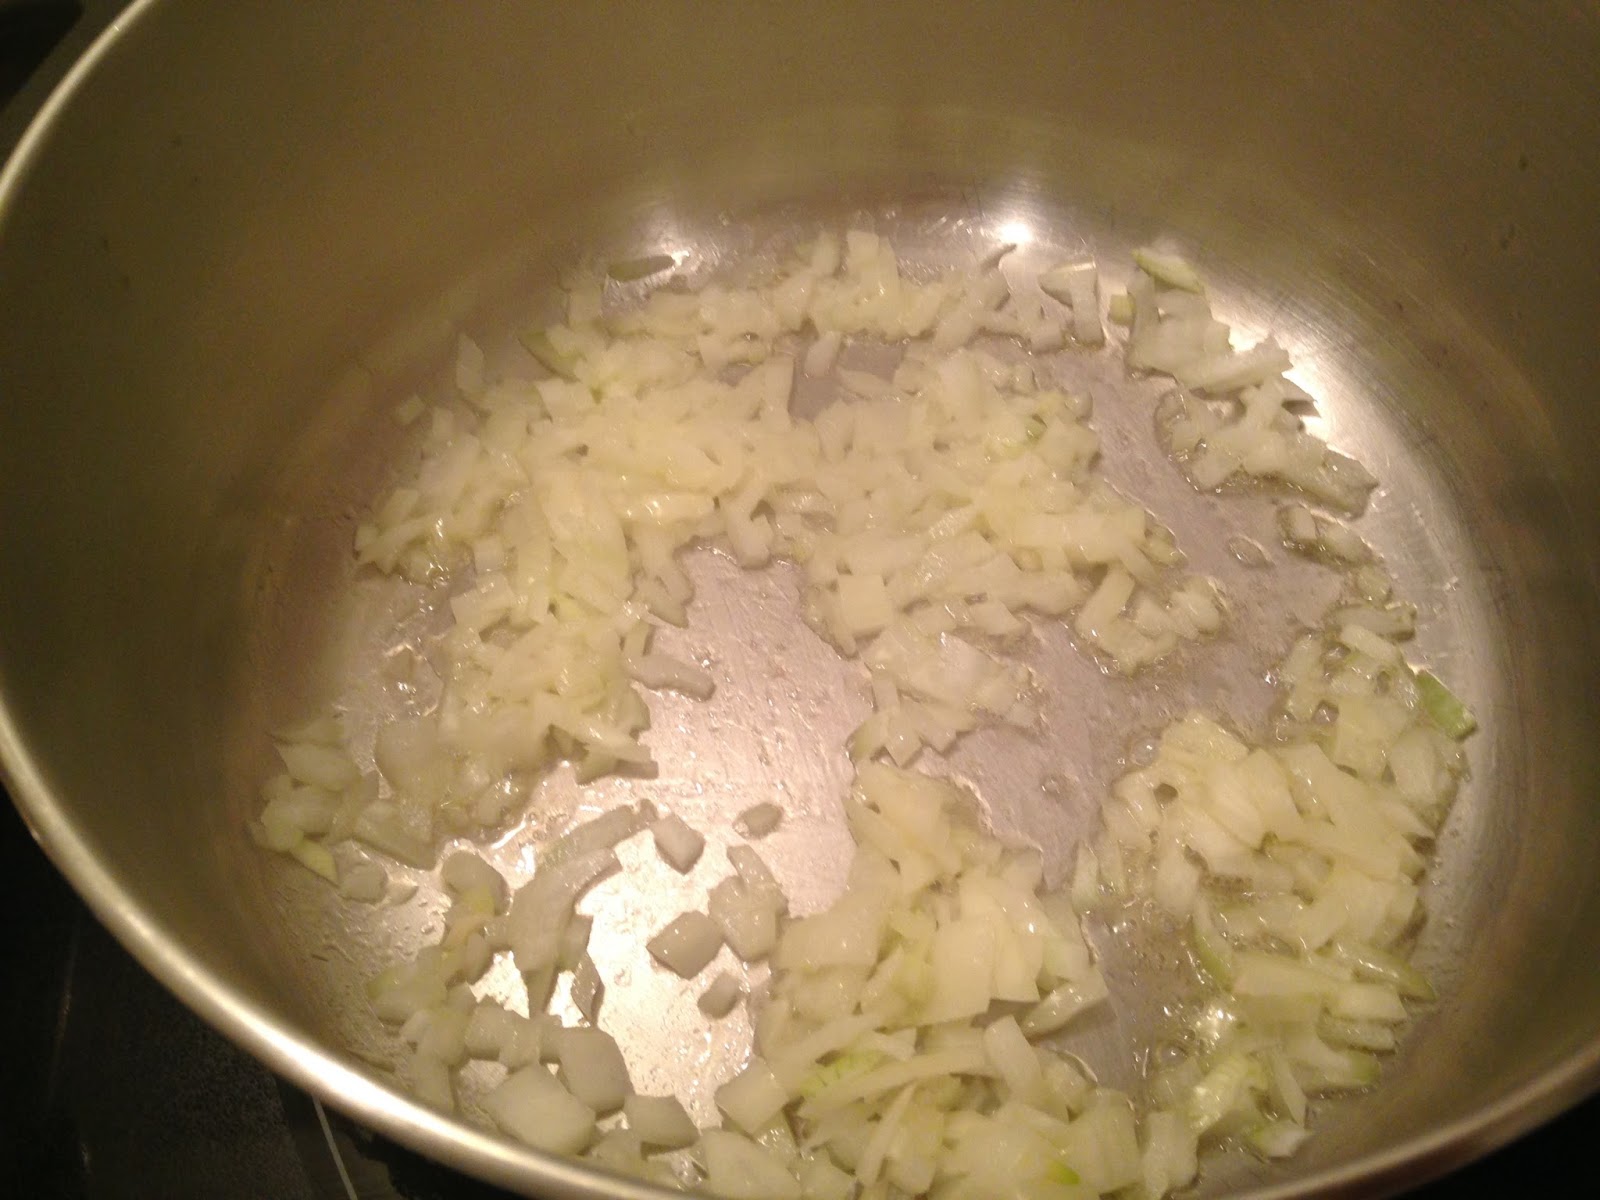
1. In a large pot, melt 2 tablespoons of butter on medium high.
2. Saute onions until it is translucent.
3. Add in the mushrooms and saute until the mushrooms are soft. Set aside.
4. Melt 1 tablespoon of butter in the same pot.
5. Add in the chicken breast and saute until it is cooked through.
6. Stir in the mushrooms, onions, garlic, thyme, flour and 1/2 cup wine or broth. Whisk until the flour is well incorporated and no longer lumpy.
7. Pour in 8 cups of broth and bring it to a boil.
8. Once it reaches a boil, add in the tortellini and lower the heat to medium. Simmer for 8 to 10 minutes until the tortellini is cooked through.
9. Turn the heat down to low and stir in the Parmesan cheese until it is melted. Then add in the baby spinach and stir it in. Lastly, stir in the 1/2 cup cream or milk. Season with salt and pepper to taste. Serve hot.
Source: Slightly adapted from Closet Cooking
1.31.2015
Cast Iron Chicken Chow Mein
I use my cast iron skillet to cook pretty much everything from pizza to dessert. To date, I have yet to cook Chinese food in my cast iron skillet.
Similar to a wok, a cast iron skillet retains heat well and can be used to quickly stir fry foods at high temperatures. Using a cast iron to cook chow mein is an ideal compromise for those who do not own a wok or those who do not have a wok compatible stove, like a ceramic glass top (like us!).
I have been using my non-stick skillet when I make chow mein. As I cook more and more at home, I have found that I prefer using my cast iron over my non-stick. Cast iron offers many benefits as food cooks faster, meats stay moist and you can cook at a higher temperature (just to name a few things).
I have been wanting to cook Chinese food in my cast iron skillet for a while. So last night, I decided to cook chicken chow mein in my cast iron skillet. My husband watched all of this with a wary eye and asked if this method has been tested out before. To be honest, I never bothered to Google it but I'm sure I'm not reinventing the wheel here. ;)
The chicken and the green beans both stir fried quickly in the cast iron (no surprise). The chow mein noodles also did not stick to the skillet as my cast iron is well seasoned. The end result is delicious chow mein that is ready in half the time. My husband and I both noticed that the chicken is moist and the vegetables are cooked to perfection. I can't wait to try more Chinese recipes in my cast iron skillet!
Ingredients
2 boneless skinless chicken breasts or thighs, sliced into thin strips
1 tsp cornstarch
1 tbsp soy sauce
1 tbsp vegetable oil
8 cups julienned vegetables (I used julienned green beans*)
2 tbsp water
2 tbsp vegetable oil
454 g chow mein noodles
2 tbsp soy sauce
1 tbsp sesame oil
* I removed the stem from the green beans and cut it diagonally into smaller pieces
Directions
1. Heat a cast iron skillet over medium-high heat. Add vegetable oil.
2. In a bowl, mix sliced chicken breast strips, cornstarch and soy sauce.
3. Once the skillet is hot, add the chicken breast strips and stir fry until it is almost cooked.
4. Add the julienned vegetables to the skillet and cook until the vegetables are tender. Stirring frequently, add water to deglaze the skillet. Set aside.
5. In a separate pot, boil water and prepare chow mein noodles according to package directions. Drain and set aside.
6. Pour 2 tablespoons of vegetable oil in the skillet. Once the skillet is hot, add the chow mein noodles, toss frequently with tongs for a minute or two.
7. Add in the chicken, julienned vegetables, soy sauce, sesame oil and toss thoroughly. Serve hot.
Source: Frugal Allergy Mom
1.08.2015
Trinidad Stewed Chicken
Lately, it seems like everyone I know escaped to Hawaii over the winter holidays. My Facebook feed consisted of everyone boasting about tanning, swimming, reading, lazying about in Hawaii.
Meanwhile, the weather in Vancouver is overcast and hovering around 4 degrees Celsius. I longed for warmth and sunshine.
As I was looking through my recipes for dinner, a tweet caught my eye. The office of Charlie Hebdo was targeted by three men killing twelve people, including journalists, cartoonists, police officers and other innocent civilians. My heart aches for the victims and their families as a result of this senseless and cowardly attack.
I was no longer longing for a sunny beach in Hawaii. I felt shaken as the attack was a direct assault on freedom of speech, which is something I value. It was a flashback to September 11th and when Corporal Nathan Cirillo, a Canadian ceremonial guard, was gunned down point blank. It was not a fair fight.
People all over the world started holding signs that said "Je Suis Charlie" (I am Charlie) and pens (symbolizing the freedom of speech) to stand in solidarity with those who lost their lives in Paris yesterday. Now I longed for everyone to have the right to freedom of speech, without fear of retribution or violence. I longed for disagreements using words rather than violence to resolve differences.
As I was making this Trinidad Stewed Chicken, I thought of my friend Tina, who gave me this recipe 5 years ago. Our friendship was a unique one as we are polar opposites in many respects, except when it came to food. The aroma of the chicken simmering on my stove reminded me of a happier time and filled my house with warmth. Though the chicken stew was delicious and enjoyed by everyone, it felt like a dark cloud was hovering above us. I am still sad and confused over how satirical cartoons can be a death sentence for 12 innocent people. It continues to baffle me.
The slain editor of Charlie Hebdo, Stéphane “Charb” Charbonnier, infamously said "I prefer to die standing than living on my knees". I strongly believe the best way to memorialize the 12 victims of the Charlie Hebdo massacre is not be afraid and to continue to exercise our right to freedom of speech. Je Suis Charlie.
Ingredients
3-1/2 lbs boneless, skinless chicken breasts or thighs (cut into 1 inch pieces)
3 tbsp minced green seasonings (chives, green onions, cilantro)
1 tsp minced garlic
1/2 cup chopped onion
1 tsp salt (I omitted this)
1/2 tsp black pepper
2 tbsp vegetable oil
3 tbsp brown sugar (loosely packed)
1 cup chicken broth or water
2 medium tomatoes, diced
2 tbsp ketchup
1 tbsp soy sauce
1 tsp hot pepper to taste, dried chili, red chili pepper or habanero (optional)
1 tbsp butter, added for flavor (optional)
Directions
1. Season chicken with green seasonings (I only used green onions), garlic, onion, salt and pepper. Mix. Cover and allow it to marinate for 30 minutes.
2. Heat oil in a pot over medium heat. Add brown sugar and melt.
3. Add chicken and brown all over, tossing continuously until the liquid dries out.
4. Pour in 1 cup chicken broth (or water), tomatoes, ketchup, soy sauce and hot pepper. Mix. Cover pot and simmer on low-medium heat until the chicken is tender (about 15 to 20 minutes).
5. Optional: Once the chicken stew has finished cooking, add in a tablespoon of butter. Stir and serve over rice, noodles or with a crusty loaf of bread.
Source: Tina HC
12.31.2014
Top 10 Posts of 2014
Exactly a year ago, 2013 ended off with a bang. Literally.
My husband and I were celebrating New Years at my Mother-In-Law's when the cork from a sparkling apple juice popped off unexpectedly. The cork hit a light bulb (in the ceiling fan), which shattered into a million pieces all over the living room. All of this happened minutes before the New Year's countdown.
We spent the last 5 minutes of 2013 frantically cleaning, vacuuming and sweeping the living room before counting down to 2014. It was not a relaxed way to celebrate the start the year.
2014 felt equally frantic as it was an eventful year for us (both good and bad). Through all the craziness, it made me realize the important things in life are being healthy and spending quality time with family.
Needless to say, I am hoping for a more relaxed way to end 2014 and hoping 2015 will be a healthier and happier year.
On behalf of my husband, myself and my little man, we would like to make a toast. We wish you and your loved ones a healthy and happy year ahead. Cheers!
And what better way to start 2015 than to try out the top 10 most popular posts on Frugal Allergy Mom.
Please come back and visit in 2015 for more nut-free recipes, frugal tips, allergy management and child development posts.
My husband and I were celebrating New Years at my Mother-In-Law's when the cork from a sparkling apple juice popped off unexpectedly. The cork hit a light bulb (in the ceiling fan), which shattered into a million pieces all over the living room. All of this happened minutes before the New Year's countdown.
We spent the last 5 minutes of 2013 frantically cleaning, vacuuming and sweeping the living room before counting down to 2014. It was not a relaxed way to celebrate the start the year.
2014 felt equally frantic as it was an eventful year for us (both good and bad). Through all the craziness, it made me realize the important things in life are being healthy and spending quality time with family.
Needless to say, I am hoping for a more relaxed way to end 2014 and hoping 2015 will be a healthier and happier year.
On behalf of my husband, myself and my little man, we would like to make a toast. We wish you and your loved ones a healthy and happy year ahead. Cheers!
And what better way to start 2015 than to try out the top 10 most popular posts on Frugal Allergy Mom.
![]() |
| Need caffeine? Try this recipe for delicious Vietnamese iced coffee. |
![]() |
| Top waffles, pancakes, ice cream, turkey and chicken with this versatile Cranberry Blueberry Sauce. |
![]() |
| Reuse wrapping paper to make this festive 3D Christmas Tree. |
![]() |
| From start to finish, this pizza only takes 35 minutes to make. |
![]() |
| A hearty soup to warm you up on a cold winter day. |
![]() |
| A quick 20 minute cookie recipe to make when guests pop over unexpectedly! |
![]() |
| An easy dessert to impress your guests. |
![]() |
| Guaranteed perfect prime rib every time. |
![]() |
| Rich and decadent hot chocolate that will curb your chocolate craving. Also great after a day out in the snow. |
![]() |
| Fresh homemade bread loaf ready in over an hour! |
Please come back and visit in 2015 for more nut-free recipes, frugal tips, allergy management and child development posts.
Happy New Year!
Labels:
Appetizers,
Beef,
Bread,
Breakfast,
Brunch,
Cast Iron,
Chicken,
Crafts,
Dessert,
DIY,
Drinks,
Easy,
Eggs,
Entrees,
F.A.M. Recipes,
Recipe
Subscribe to:
Posts (Atom)